Tired of messy Python setups? Ever screamed at your terminal?
Been there, done that, deleted Anaconda.
Let me show you how I set up a clean, beautiful, and powerful Python development environment on my Mac. It’s light, customizable, and perfect for devs who love a good-looking terminal and tight control over Python versions. 🤓
Table of Contents
Why I Said Goodbye to Anaconda
“Why did I remove Conda?”
Honestly? I didn’t have a solid answer… until I did.
Turns out, for most dev needs (especially when using PyCharm), Conda is bulky.
I realized:
- I never used half the stuff it installed.
- It made switching Python versions feel like black magic.
- And hey, brew + pyenv does all that—without the drama.
So yeah, I uninstalled Anaconda. It felt… liberating. 😌
What is pyenv and Why Should You Care?
Before we dive deep, let’s answer the big question:
What is pyenv and why is it such a big deal for Python developers?
In Simple Terms:
pyenv is a Python version manager.
It lets you:
- Install multiple versions of Python (like 3.10, 3.11, even 2.7 if you dare 😅).
- Switch between them effortlessly.
- Set global or per-project Python versions.
- Avoid the pain of messing with system Python or breaking your OS.
Think of it as nvm but for Python — clean, lightweight, and developer-friendly.
A Little History (for the curious ones)
pyenv is a fork of rbenv (yes, originally made for Ruby devs!) — adapted beautifully for Python by Yamashita Ryuzi. It’s been actively maintained and improved by the open-source community since 2014.
In over a decade, it has become a go-to tool for Python developers who want:
- Isolated Python versions per project.
- Better control in virtual environments.
- Hassle-free integration with tools like PyCharm, VSCode, pip, and more.
Why Developers Love pyenv
Keeps your system Python untouched (so you don’t break macOS updates!)
- Makes switching versions project-based with a single command.
- Works perfectly with pyenv-virtualenv for sandboxed dev environments.
- Super easy to use and configure with zsh, bash, or any shell.Plays nicely with IDEs like PyCharm, so you can map environments easily.
Imagine this:
- You’re working on one project that needs Python 3.10
- And another that needs Python 3.11
With pyenv, just run:
cd project1
pyenv local 3.10

cd ../project2
pyenv local 3.11
Boom 💥 — each folder is now linked to a different Python version. No more messing with symlinks or global installs!
That’s the magic of pyenv. Simple, clean, powerful.
Homebrew + pyenv = Your New Best Friends
Run this like a Python boss:
pyenv install 3.10
pyenv install 3.11
Now pick your Python:
pyenv global 3.11  # Sets default globally
pyenv local 3.10   # Sets version for current project (creates .python-version)
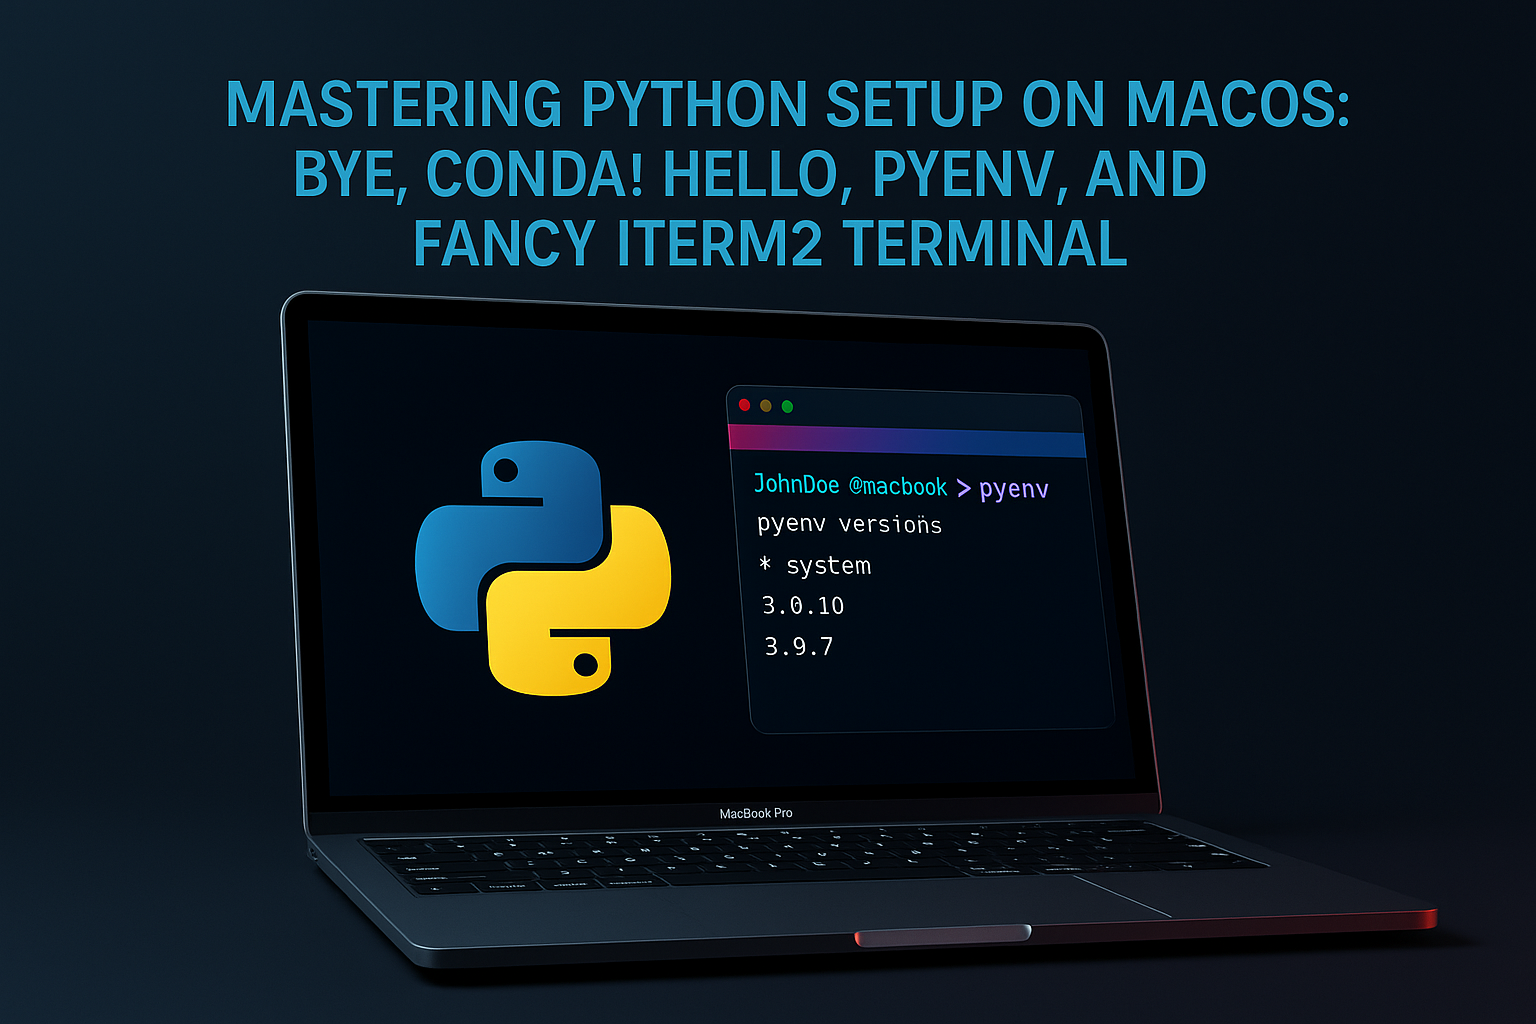
Tip: Use pyenv versions to see all installed versions.
Say Hello to pyenv-virtualenv
Managing multiple Python versions is great, but what if your projects need different dependencies too? That’s where pyenv-virtualenv steps in like a superhero with a virtual cape.
What is pyenv-virtualenv?
pyenv-virtualenv is a plugin for pyenv that allows you to create isolated Python environments. Think of it as a “mini Python world” for each of your projects. No more dependency clashes or “why did pip install that globally?” nightmares.
It combines the power of pyenv (version control) and virtualenv (environment isolation) into one smooth workflow.
How to Install and Use pyenv-virtualenv
First, install it via Homebrew (if not already):
brew install pyenv-virtualenv
Now, let’s make some magic:
1. Create a virtual environment:
pyenv virtualenv 3.10.4 venv-3.10
This creates a new virtual environment named venv-3.10 using Python 3.10.4.
2. List all virtual environments:
pyenv virtualenvs
3. Set local environment for a project:
cd your-project-directory
pyenv local venv-3.10     # Locks env to folder
4. Manually activate the environment (if needed):
pyenv activate venv-3.10
5. Deactivate it when done:
pyenv deactivate
6. To nuke it:
pyenv uninstall venv-3.10
Bonus Tip
Update your .zshrc to include this, so it auto-activates environments when you switch directories (may degrade iTerm performance):
eval "$(pyenv virtualenv-init -)"
Now you’ve got full version and environment control — like a true Python ninja.
Make Your Terminal Look 🔥 with iTerm2 + Oh My Zsh
Let’s face it: the default macOS terminal is… meh.
We’re going full-on developer aesthetic now.
1. Install Oh My Zsh
sh -c "$(curl -fsSL https://raw.githubusercontent.com/ohmyzsh/ohmyzsh/master/tools/install.sh)"
It’ll back up your current .zshrc and give you a shiny new config.
2. Use a Sexy Theme — agnoster
Open .zshrc and change:
ZSH_THEME="agnoster"
Heads up: it might show weird symbols at first. Let’s fix that 👇
3. Fix Fonts (So It Doesn’t Look Like 💩)
Install Powerline-patched fonts:
git clone https://github.com/powerline/fonts.git --depth=1
cd fonts
./install.sh
cd ..
rm -rf fonts
Then in iTerm2:
- Go to Preferences > Profiles > Text
- Choose a font like Meslo LG L DZ for Powerline
BAM! Fancy prompt activated.
4. Add Color Vibes
Go to:
iTerm2 > Preferences > Profiles > Colors
Pick a blue gradient — dark to light. Your terminal should feel like a deep space control panel now. 😎
5. Hide That Nerdy user@hostname Prompt
Don’t like seeing yourname@MacBook-Pro every time?
Just add this to .zshrc:
prompt_context() {}
Now your prompt is sleek and to the point. Minimalist vibes.
6. Add pyenv to Your .zshrc
Add this at the end of your .zshrc:
export PYENV_ROOT="$HOME/.pyenv"
command -v pyenv >/dev/null || export PATH="$PYENV_ROOT/bin:$PATH"
eval "$(pyenv init --path)"
eval "$(pyenv init -)"
eval "$(pyenv virtualenv-init -)"
Apply it:
source ~/.zshrc
Using pyenv in PyCharm
Using PyCharm? You’ll love this:
- Go to Preferences > Project > Python Interpreter
- Click the ⚙️ > Add Interpreter
- Choose the Python binary inside your pyenv virtualenv (e.g., ~/.pyenv/versions/venv-3.10/bin/python)
- Install your dependencies:
pip install -r requirements.txt
And you’re all set!
Summary (TL;DR for the Lazy Scroll)
- Uninstalled Anaconda (too bulky)
- Installed multiple Python versions with pyenv
- Created virtualenvs using pyenv-virtualenv
- Made terminal fabulous using iTerm2 + Oh My Zsh + Powerline fonts
- Bonus: Everything plays nicely with PyCharm
Final Thoughts
If you made it this far—you’re officially a Mac Python Jedi.
This setup is clean, powerful, and makes switching between projects and Python versions feel like magic (the good kind).
Go build something amazing. Or, at the very least, flex your sexy terminal.